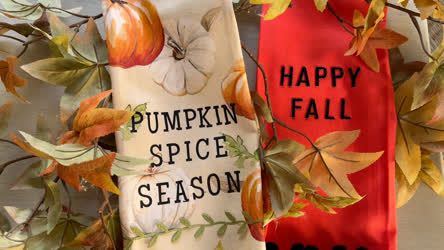
Personalized Tea Towel Craft
Great American Home
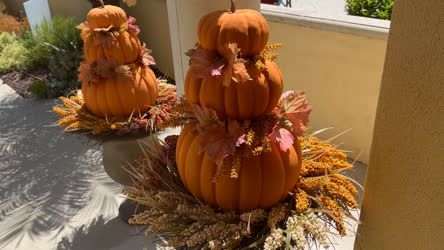
DIY Pumpkin Topiary
Great American Crafts
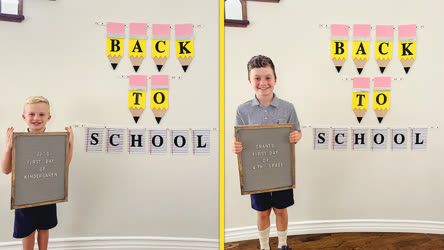
Back to School Photo Backdrop
Great American Crafts

DIY Summer Serving Trays
Great American Crafts
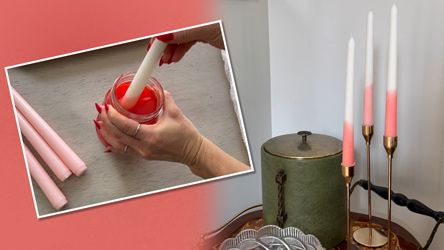
Dip Dyed Candles
Great American Crafts
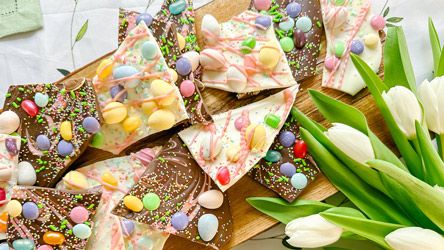
Chocolate Easter Bark
Great American Cookbook
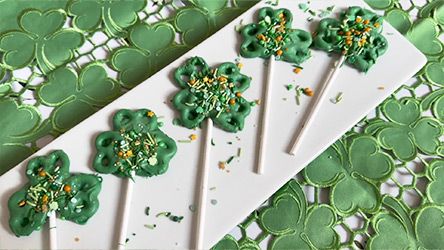
Shamrock Pretzel Pops
Great American Cookbook

DIY Pom Poms
Great American Crafts

Last-Minute King Cake
Great American Cookbook
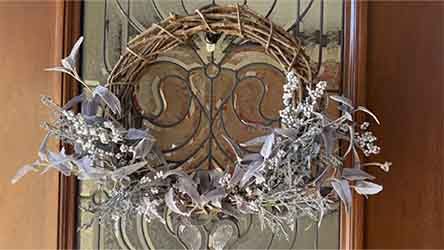
DIY Winter Wreath
Great American Crafts
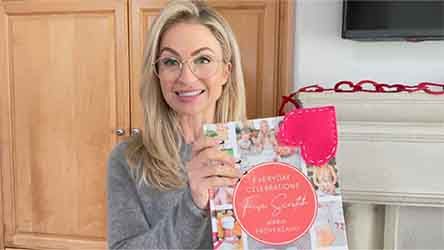
DIY Valentine's Day Felt Bookmarks
Great American Home

DIY Balloon Backdrop
Great American Crafts

DIY Clay Magnets
Great American Home

DIY Bath Bombs
Great American Home
DIY Soap Making 101
Great American Home
New Year's Eve Crafts for Kids
Great American Home

Chicken Pot Pie Galette
Great American Cookbook

Feast of the Seven Fishes
Great American Cookbook
Christmas Green Beans
Great American Cookbook
DIY Tomato Cage Christmas Trees
Great American Home

- HOME
0 seconds of 0 secondsVolume 90%
Press shift question mark to access a list of keyboard shortcuts
Keyboard Shortcuts
Shortcuts Open/Close/ or ?
Play/PauseSPACE
Increase Volume↑
Decrease Volume↓
Seek Forward→
Seek Backward←
Captions On/Offc
Fullscreen/Exit Fullscreenf
Mute/Unmutem
Decrease Caption Size-
Increase Caption Size+ or =
Seek %0-9
Live
00:00
00:00
00:00
DIY Christmas Napkin Art
Start Over can only go back 1 hour, not to the beginning of this program. If you want to watch from the beginning, the full program will be available to watch in the Guide 30 minutes after it ends.
DIY Christmas Napkin Art

DIY Christmas Napkin Art
Maria Provenzano is elevating your napkin game with these 3 DIY designs that will add an elegant touch to your table this holiday season.
DIY Christmas Napkin Art
Maria Provenzano
Directions:
Bow:
1. Fold the napkin into a triangle, then fold the tip of the triangle in and the bottom of the triangle in until they meet, making sure the napkin is in a flat line.
2. Pull one point of the napkin behind the flat center and repeat with the other side.
3. Pull the napkin through a napkin ring so that the napkin ring is in the center.
4. Pull the two points down and fluff out the “bow” if needed.
Tree:
1. Fold the napkin in half and then in half again to create a square. There will be one corner that all the open ends meet.
2. Fold each flap up, then flip it over, and fold the left and right side into the center, overlapping each other.
3. Flip it back over to the other side, it will be in a “tree” shape at this point, and then fold the open points up starting at the top and fold each one under the one above it.
Add a simple detail: Add a mini wreath or cookie cutter as a napkin ring. Lay the napkin completely flat, pinch the middle of the napkin and lift it up to let the outside edges fall. Add the mini wreath or cookie cutter around the area that is pinched and move it up at the center. Place on the place setting.
Comments 

Add comment...
Watch Great American Community anywhere, anytime!
Download our top-rated app, made just for you!
It’s free, easy and smart.
We use cookies to personalize and enhance your experience on our site. Visit our Privacy Policy page to learn more. By using our site, you agree to our use of cookies.
 support@greatamericancommunity.com


