 support@greatamericancommunity.com


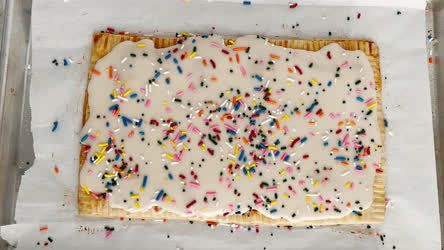
Giant Poptart
Great American Cookbook
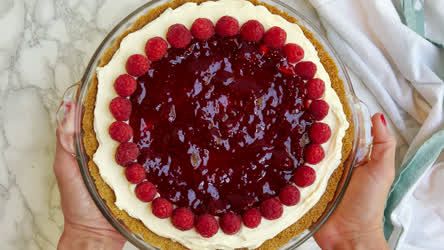
Lemon Raspberry Cream Pie
Great American Cookbook

Mountain Bar Cookies
Great American Cookbook
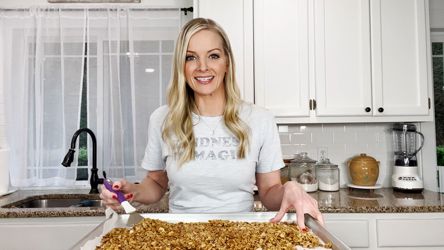
Do It Yourself Granola
Great American Cookbook
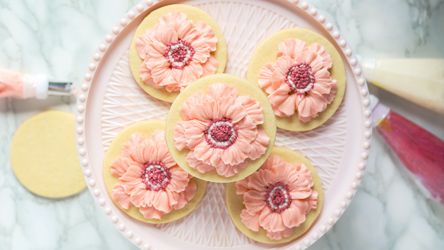
Spring Flower Cookies
Great American Cookbook
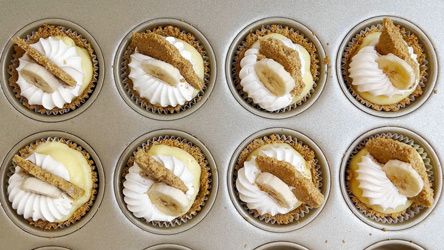
Mini Banana Cream Pies
Great American Cookbook
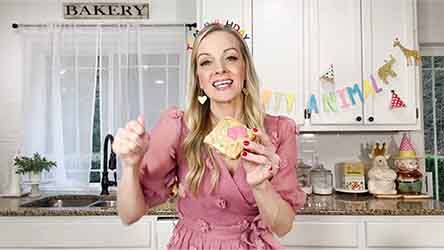
Party Animal Blondie Bars
Great American Cookbook
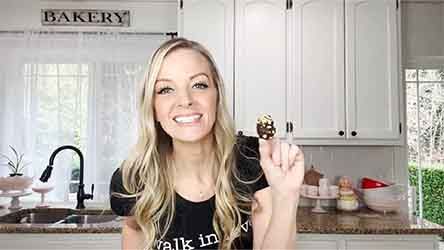
Healthy Snickers Dates
Great American Cookbook
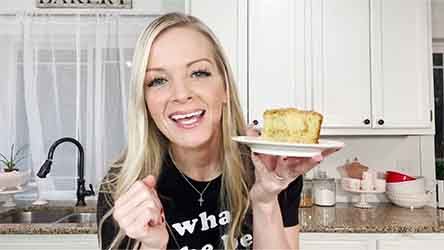
Sour Cream Coffee Cake
Great American Cookbook
Love Letter-Shaped Cherry Hand Pies
Great American Cookbook
Decorated Heart Cookies
Great American Cookbook

Strawberry Cream Cheese Pastries
Great American Cookbook
Healthy Breakfast Cookies
Great American Home
Quick Cinnamon Monkey Bread
Great American Cookbook
Blueberry Breakfast Casserole
Great American Cookbook
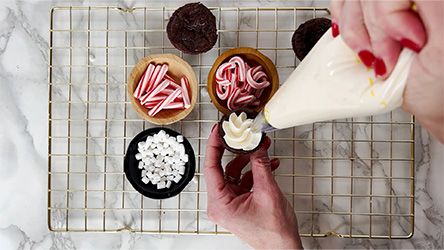
Hot Cocoa Brownie Cups
Great American Cookbook

NYE Piñata Cookies
Great American Home

New Year's Eve Cake Poppers
Great American Cookbook
0 seconds of 0 secondsVolume 90%
Press shift question mark to access a list of keyboard shortcuts
Keyboard Shortcuts
Shortcuts Open/Close/ or ?
Play/PauseSPACE
Increase Volume↑
Decrease Volume↓
Seek Forward→
Seek Backward←
Captions On/Offc
Fullscreen/Exit Fullscreenf
Mute/Unmutem
Decrease Caption Size-
Increase Caption Size+ or =
Seek %0-9
Back to School Pencil Cookies

Back to School Pencil Cookies
Emily Hutchinson shows us how to pipe buttercream frosting into pencils for the tastiest back to school lunchbox treats that the whole family will enjoy.
Back To School Cookies
Emily Hutchinson
Yield: Makes 18-24 cookies
Ingredients:
1 cup salted sweet cream butter OR (1 cup unsalted butter, softened)
1/2 tsp salt
3/4 cup (150 grams) white granulated sugar
1/2 cup (60 grams) white confectioners’ sugar
1 large egg
1 tsp pure vanilla extract
1/4-1/2 teaspoon almond extract (optional)
Zest from 1 medium lemon
1 tbs (15 grams) lemon juice
3 cups (375–390 grams) all-purpose flour, plus extra for rolling
1 tsp aluminum-free baking powder
1 tsp poppy seeds (or more if desired)
Directions:
1. Cream butter and salt in a stand mixer with paddle attachment for 30 seconds on medium speed.
2. Mix in both sugars and cream for 1 minute on medium speed.
3. Crack your egg in a small bowl to prevent shells in your dough and add into mix along with the vanilla and almond. Add in lemon zest and juice, cream together about 30 seconds on medium speed just until incorporated.
4. Then mix dry ingredients (flour and baking powder and poppyseeds) in a separate bowl with a whisk. Then, add dry ingredients to wet ingredients.
5. Mix on low speed. The dough will start pulling off the sides once it’s combined, which is your cue to stop mixing. Overmixing will cause a hard cookie.
6. Preheat oven to 375°F. Lay out a sheet of plastic wrap, place dough on top, and form it into a disc shape to allow dough to chill quicker. Wrap and place in refrigerator for at least 15 minutes for dough to firm up a little to prevent spreading. Line a cookie sheet with parchment paper or prepare to lay bare on a restaurant-grade aluminum baking sheet.
7. Flour your surface. To get even dough, roll slowly up, down, and then to the sides. Roll dough out to 1⁄4 inch thick minimum and cut your cookies into desired shapes.
8. Place on baking sheet about 2 inches apart and bake for 6 to 7 minutes or until the cookie puffs up and the center looks matte.
9. Once baked, sit for 1 minute on the cookie sheet to firm up. Then transfer to a cooling rack.
American Buttercream
Yield: Makes 3 Cups
Ingredients:
1 cup salted sweet cream butter, softened
1 teaspoon pure vanilla extract
4 1⁄2 cups confectioners’ powdered sugar (white powdered sugar)
2-3 tablespoons 2% or whole milk
Directions:
1. Cream your butter and salt in a stand mixer on medium speed for 2 minutes.
2. Once creamed, add your vanilla. Mix again for a minute.
3. Scrape down sides and mix again for 30 seconds.
4. Sift your powdered sugar to make sure there are no clumps and add it in. Place a towel over your mixer to prevent a powdered-sugar storm.
5. Once mixed, add in your milk, starting with 2 tablespoons. You can always add more, but you can’t take it out. Continue to add more than the recipe states if it’s too thick. Remember, temperature and humidity factor in. If you find it’s too soft, add in 1⁄4 cup extra powdered sugar to thicken it up. Be careful because it will begin to taste like straight powdered sugar if you add too much.
6. Mix until smooth, about 1 minute on medium to high speed. Be sure not to over-whip your buttercream. DON’T panic! You won’t ruin it if it whips longer. Store unused buttercream in an airtight container in the fridge for up to 1 week or freeze for up to 3 months.
*If you can’t get salted sweet cream butter from Costco, Lucerne brand is great for these recipes or use unsalted butter and add ¾ tsp fine salt when mixing butter in sand mixer.
Piping Instructions (for the cookie base):
1. Use tip 10 and white buttercream and pipe a base layer. Take an offset spatula and smooth the top. Dip the spatula in very hot water, the hotter the better. Set the spatula in the hot water for about a minute and then quickly dry and smooth the top. It will melt the buttercream for a smooth layer. Be gentle when smoothing and repeat until desired smoothness.
2. Next, take tip 2 and pipe a red line vertically for the lined paper, then horizontally pipe the light blue paper lines to complete the notebook paper look.
3. Take tip 18 and yellow buttercream and pipe a heart but don’t connect. Then take light brown and tip 2 and pipe the sharpened pencil. Add a tiny bit of black also using tip 2. Then with tip 8, pipe a pink eraser on the other edge. That’s it. Allow the cookies to dry for 24 hours before bagging.
Comments 
Add comment...
TV app


Mobile app


Connect with us :


